Crossflo Crosslist · Seller Resources
Reseller Starter Kit
Everything for labeling, packing, photographing and storing inventory: where to buy it, and short guides to set it up right.
Shop the starter kit
Search eBay for each part of the kit:
JD-268BT label printers Label printers · eBay search40 × 30 mm thermal labels Labels · eBay searchMailers and packing supplies Packing & scales · eBay searchPostal scales Packing & scales · eBay searchPhoto backgrounds and lights Photography · eBay searchInventory bins and shelving Storage · eBay search
Links open in a new tab. Crossflo doesn't sell, ship or take orders for these items; prices and availability are the retailer's. Check compatibility before you buy.
Setup guides
Open a topic for practical tips.
Label printers: start with the jobSmall inventory labels and shipping labels do different jobs. Choose a printer for the label you actually need, not just the connection advertised on the box.Show tipsHide
- Owner-tested setup: JD-268BT with 40 × 30 mm labels. This is one user's setup, not a blanket compatibility claim or a product endorsement.
- Before buying, check the exact model's supported label widths, your device's operating system, and the maker's current driver or printing-app instructions. Bluetooth alone does not guarantee browser printing.
- For carrier postage, check the carrier's required format and the printer's printable area separately. A 40 × 30 mm inventory label is not a substitute for a shipping label.
Label compatibility: measure twiceMatch both the label stock and the print layout. A listing that says 'thermal' is not enough to establish compatibility.Show tipsHide
- Check direct-thermal versus thermal-transfer stock, roll or fanfold feed, maximum media width, roll/core dimensions, and gap or black-mark sensing against the printer manual.
- For the owner-tested setup, select 40 × 30 mm in Crossflo's QR layout and in the printer app or driver. Print at actual size / 100%, with fit-to-page scaling off.
- Print one test label before a batch. Check that the entire QR code and its clear border fit, then scan it on your phone. Adjust printer position offsets rather than changing reserved codes.
- Choose removable adhesive for surfaces that could be damaged, and test a discreet area first. Keep thermal labels away from heat and prolonged sunlight; retain the item's code in your inventory record.
Packing supplies & scalesBuild a small packing station around the items you sell most often. Keep a few suitable sizes rather than buying every packaging format at once.Show tipsHide
- Use a box and cushioning for fragile or crushable goods; reserve mailers for items that tolerate compression. Keep tape, packing paper and a measuring tape within reach.
- Weigh the fully packed parcel, not just the item. Choose a scale whose capacity covers your largest parcel and whose resolution supports your carrier's weight increments; zero it before weighing.
- Measure the outside length, width and height after sealing. Carriers may charge by dimensional weight; check the carrier's rules before purchasing postage.
- Reuse clean, structurally sound packaging when suitable. Remove old addresses and barcodes; use restricted carrier-branded packaging only with the service it permits.
Photography: show the real conditionStart with your phone, a clean background and consistent light. Accurate photos matter more than an elaborate studio.Show tipsHide
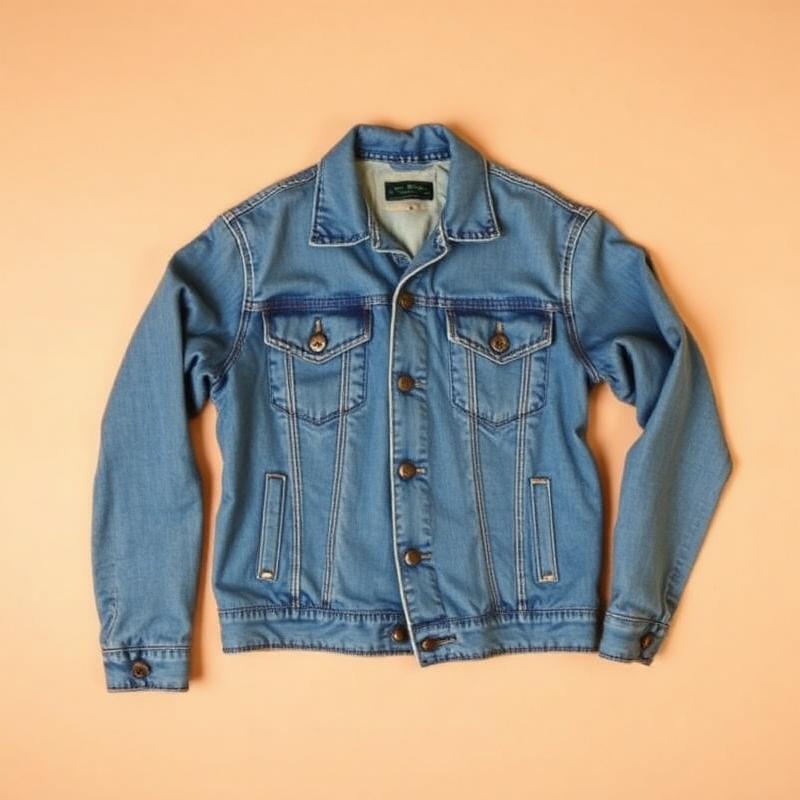
- Use indirect daylight or a diffused light source. Avoid mixed lighting and filters that change color; compare the photo with the actual item before listing.
- Capture the front, back, sides, maker's marks, size tags and every flaw. Include close-ups of wear and measurements where they help a buyer judge fit or condition.
- Keep the item sharp and fully visible. Use a steady support and a plain background; do not hide damage through cropping or retouching.
- Check the background for addresses, receipts and personal information. Keep original photos together under the item's inventory code so they are easy to find again.
Inventory storage: give every item a homeA repeatable location system saves searching when an order arrives. Keep the item identity separate from its shelf location.Show tipsHide
- Name locations consistently, such as Shelf A → Bin 03, and record the location alongside the item's unique code. Update the location whenever the item moves; do not reuse its identity for another item.
- Separate unlisted, listed, sold-awaiting-shipment and return-review items. A storage move is not proof of a sale or a reason to remove another marketplace listing.
- Use clean, dry storage and suitable protective bags or dividers. Keep heavier items low, respect shelving load limits and leave a clear packing area.
- Start with a few bins and count them regularly against your records. Keep purchase cost and source details with the item, not only on a removable label.